


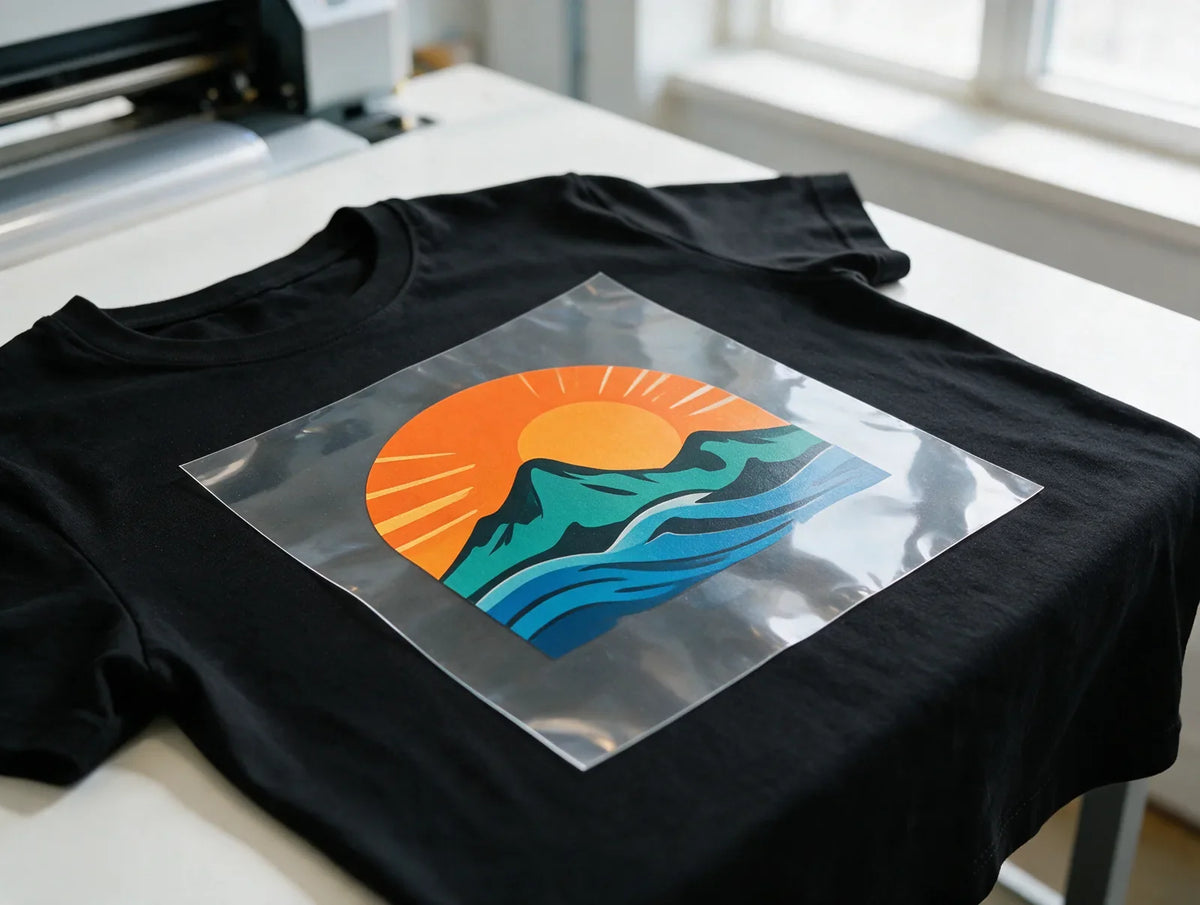
A transparent PNG for DTF is an image file where everything except your design is see-through, saved at 300 DPI at the size you want printed. DTF prints whatever is in the file, so a clean, transparent background is what keeps a white box or a fuzzy halo off your shirt.
The steps below work in most image editors, including free ones, so you don't need expensive software to make a print-ready file. You'll learn how to set the size, remove the background, clean up the edges and check the file before you upload.
What a print-ready DTF PNG file looks like
Before you open any software, know what you're aiming for. A print-ready file has:
- A transparent background. No white box, color block or leftover photo behind the design.
- 300 DPI at the final size. The file is built at the width it will be printed.
- Solid edges. No soft shadows, glows or faded pixels around the artwork.
- Readable details. Text at 8 pt or larger and lines thick enough to hold up on fabric.

We also accept AI, EPS, PDF and JPG files in RGB or CMYK, but a transparent PNG at 300 DPI is the preferred format. The full list is on our DTF artwork requirements page.
Why DTF needs a transparent background
A DTF transfer is printed on clear film, and the adhesive powder sticks only to the ink, so only the printed areas end up on the garment. If your file has a white background, that white prints as white ink. A design saved on a white box arrives as a white box.
A JPG can't store transparency at all, so its background prints as a rectangle around the design. A PNG can, which is why it's the preferred format for DTF.
Partly transparent pixels cause problems too
Transparency should be all or nothing. Soft drop shadows, glows, feathered edges and low-opacity areas are only partly see-through. On film they can print as a speckled haze or a faint outline, and they tend to look dull next to the solid colors in your design.
Set the size and resolution first
Resolution is easiest to get right at the start. Create or export your artwork at the size it will be printed, at 300 DPI. To check a file, multiply the print width in inches by 300: a 10-inch-wide design should be about 3,000 pixels wide.
- Stay within 22 inches. That is the width of our gang sheets, or 6,600 pixels at 300 DPI.
- Start big. Enlarging a small image doesn't add detail, so a low-resolution file stays blurry when printed. Use the original artwork or a vector file whenever you can.
- Size by placement. Our DTF size guide lists typical widths for full fronts, left chests, sleeves and hats.
How to remove a background for DTF, step by step
Menu names differ from program to program, but the process is much the same in most image editors, from free browser-based tools to full design suites:
- Open the largest version of your artwork. More pixels give you cleaner edges to work with.
- Unlock the background. Many editors lock the bottom layer as a solid background. Unlock or duplicate it, or add a transparency (alpha) channel, so erased areas turn see-through instead of white.
- Select what you want to remove. For a solid-color background, a magic wand or select-by-color tool usually picks it up in one click. For photos, try an automatic subject selection or remove-background tool, then refine the result by hand.
- Delete the background. A gray-and-white checkerboard appears wherever the image is now transparent.
- Clear the gaps inside the design. Check the holes inside letters and shapes, such as the middle of an O, and delete any background left there.
- Export as PNG. Choose PNG with transparency turned on. Don't flatten the image or save it as a JPG, which fills transparent areas with a solid color.
Clean up the edges
Automatic tools are a good start, but they're rarely perfect. Zoom in close and look around the outline for a thin light or dark fringe, often called a halo. Shrink the selection slightly or erase the fringe with a hard-edged eraser, since a soft brush creates new semi-transparent pixels.
Check it against dark and light backgrounds
A transparent background can hide problems. Add a temporary layer of solid black under your design, then one of a bright color, and look for stray specks, halos and gaps. Delete or hide the test layer before you export.
Fix shadows, glows and fades before you export
Effects that look soft on screen need a decision before they go to print:
- Make shadows solid or remove them. A soft drop shadow can become a solid offset shape in a darker color.
- Use a halftone for fades. For a gradient that fades into the garment, a pattern of small solid dots usually prints more cleanly than soft transparency.
- Raise low opacity to full. Anything set to partial opacity should be made fully solid or deleted.
- Check textures. Distressed and grunge effects should be built from solid pixels, not faded ones.
White, black and dark garments
Our transfers include a white underbase, so colors stay bright on black, navy and other dark garments. You don't need to add a white layer behind your design. Use white in your file only where you want white to show.
Printing on black, charcoal or deep heather garments? With black knockout DTF, no black ink is printed, so the garment shows through wherever your design is black. Every area you want knocked out must be pure #000000, and these designs print on their own sheets from the Black Knockout Gang Sheet Builder.
Turning a JPG or logo into a DTF PNG file
Starting from a JPG
Open the JPG at the largest size you have, remove the background with the steps above and export it as a PNG. JPG compression leaves blotchy pixels around edges and in flat colors, so zoom in and clean those up first. If the JPG is small or blurry, find the original file instead of enlarging it.
Starting from vector artwork
If your logo is an AI, EPS or PDF file, you can send it as is. Convert text to outlines and delete any background shapes before you save. To make a PNG instead, export it at the exact print size and 300 DPI with the background turned off.
Text and thin lines
Keep all text at 8 pt or larger at the final print size, and thicken hairline strokes. Details that look crisp on screen can break up on fabric, especially after you shrink a design for a left chest or a hat.
Check your PNG before you upload
Run through this list before you order:
- The background shows as a checkerboard, with no white box behind the design.
- The file is 300 DPI at the final print size and no wider than 22 inches.
- There are no soft shadows, glows or stray pixels around the edges.
- All text is 8 pt or larger, and thin lines are thick enough to print.
- Knockout artwork uses pure #000000 black and goes on its own sheet.
Then add your files to the free Gang Sheet Builder. It runs in your browser, needs no account and lets you preview the sheet before you order. Our guide on how to make a DTF gang sheet covers layout, and for a single design you can order DTF transfers by size.
Frequently asked questions
Can I use a JPG for DTF printing?
Yes, we accept JPG files. A JPG can't have a transparent background, though, so its background can print as a box around your design. Convert it to a PNG with the background removed for the cleanest edges.
What resolution should a DTF PNG be?
300 DPI at the final print size. Multiply the print width in inches by 300 to find the pixel width you need.
Do I need a white background for dark shirts?
No. Our transfers include a white underbase, so colors stay bright on dark garments. Add white to your file only where you want white in the design.
How can I tell if my PNG is really transparent?
Open it in an image editor. Transparent areas show as a gray-and-white checkerboard. Placing a dark test layer under the design also reveals leftover background, halos and specks.
Is there a free way to remove a background?
Yes. Many free image editors and browser-based tools include background removal or select-by-color tools. Whichever you use, check the edges by hand before you export.
Clean files, clean prints
A transparent PNG at 300 DPI, built at the final size with solid edges, is the simplest way to make sure only your design ends up on the shirt. Want brighter results too? Read our 5 tips for vibrant DTF prints.


