


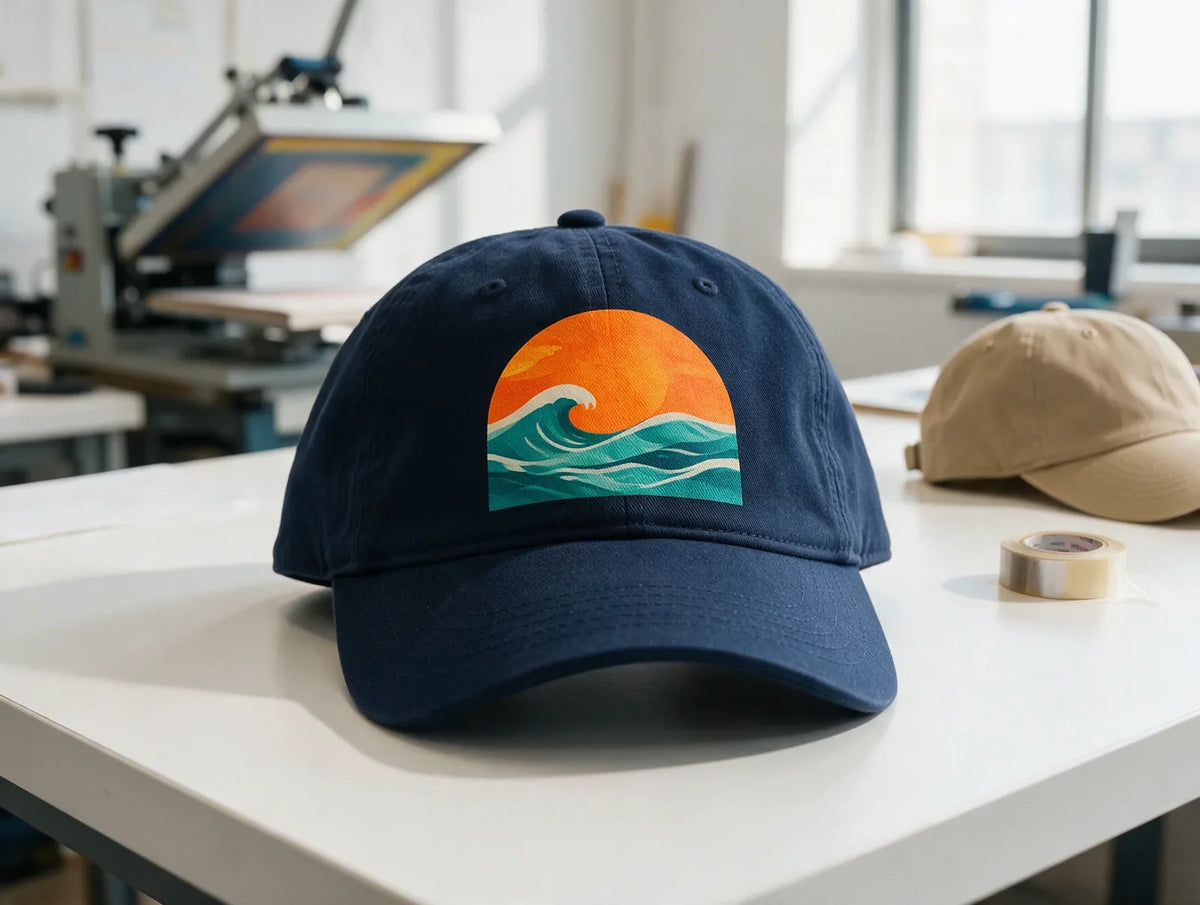
Pressing DTF transfers on hats comes down to three things: a cap with a flat or soft front panel, a design sized to fit between the seams, and heat tape to keep the transfer in place. You use the same press settings as for shirts. What changes is how you support the front panel so the whole design gets even pressure.
This guide covers which hats to choose, what size to make your design, the tools that help, a step-by-step pressing routine and fixes for the most common problems.
Which hats work best for DTF transfers
DTF bonds best on a surface that can be pressed flat with even pressure, so some hat styles are much easier than others:
- Easiest: unstructured caps. Dad hats and other soft caps have no stiff lining in the front, so the panel flattens easily under the press.
- Easy: flat-front caps. Styles with a seamless front panel, like many five-panel caps, give the transfer one smooth surface with no seam through the design.
- Harder: structured caps with a center seam. A stiff, curved front and a seam down the middle keep parts of the transfer from getting full pressure. Embroidery or a patch is often the better fit for these.
- Trucker hats: front panel only. Keep the design on the solid front panel, since a transfer can't bond across the open holes in mesh.
Flat-front and unstructured caps are also the styles we decorate with DTF on our custom hats. Check the fabric too. DTF adheres to cotton, polyester, blends, canvas and nylon, but water-repellent or coated finishes can stop any heat transfer from bonding, so test a spare hat when in doubt.
DTF hat transfer size and placement
A structured cap front typically fits a design about 4–4.5" wide and 2–2.5" tall. That's a common industry range rather than a fixed rule, so measure your own hats before you order.
- Measure the flat area. Measure the front panel between the seams and above the bill, then leave a small margin on every side.
- Go wide, not tall. Cap fronts are wider than they are tall, so wide logos and short lines of text fit best.
- Check low-profile caps. Unstructured and low-profile hats often have a shorter front panel, so measure the height carefully.
- Keep details bold. Text should be 8 pt or larger at the final size, and thin lines should be thickened so they hold up on a small print.
Our DTF size guide lists typical widths for every placement, from hats to full backs. Save each design as a transparent PNG at 300 DPI at its final size, as described in our DTF artwork requirements.
Ordering hat-size transfers
For a single hat design, order DTF transfers by size at the exact width you need. Pressing shirts and hats with the same logo? Put the hat-size version on a gang sheet next to your shirt designs, where small hat prints fit neatly into the gaps around larger ones.
Heat press hats with DTF: what you need
You need little beyond your usual DTF setup:
- A heat press. A hat press with a curved lower platen holds the cap's shape while you press. A flat clamshell or swing-away press also works for soft, unstructured caps.
- A hat pillow or pressing form. Placed inside the cap, it supports the front panel and lifts it above the seams and bill so the pressure lands on the design.
- Heat tape. It keeps the transfer from sliding on the curved front, so it's a must on hats.
- Parchment paper or a Teflon sheet. You'll need one for the finishing press.
How to apply DTF transfers on hats, step by step
- Prep the hat. Make sure it's clean and dry, and remove any stickers or tags from the print area.
- Pre-press the front. A quick press removes moisture and smooths out wrinkles.
- Position and tape. Center the transfer, printed side down, on the front panel, clear of the seams and bill. Secure the edges with heat tape.
- Press. Press at 320°F (160°C) with medium pressure for 15 seconds.
- Cool, then peel. Let the film cool completely, remove the tape and peel the film away low and slow.
- Finish. Cover the design with parchment paper or a Teflon sheet and press again for 5 seconds.

The settings are the same as for shirts: 320°F (160°C), medium pressure and 15 seconds, then a full cold peel. On a hat, the difference is support. The front panel needs to sit firm and smooth under the platen so every part of the design gets the same pressure. Our DTF application guide has the full routine.
Using a flat heat press
Slide a hat pillow or pressing form inside the cap so the front panel sits flat and slightly raised. Let the bill hang over the edge of the lower platen, pull the fabric smooth and keep the side seams out from under the design. Let the cap cool completely before you peel.
Using a hat press
Pull the cap snugly over the curved lower platen and lock it in so the front panel is smooth and tight, with no wrinkles under the transfer. Close the press at medium pressure, and when the time is up, let the cap cool before peeling. Our guide to hot peel vs cold peel DTF explains why the wait matters.
Common problems with DTF on hats
- Edges lifting near a seam. The seam held the platen up. Move the design away from seams, add support inside the cap and repeat the 5-second finishing press under parchment paper.
- A crooked or doubled outline. The transfer moved during pressing or cooling. Tape every edge and let the cap cool without moving it.
- Parts of the design stay on the film. The film was peeled too soon, or that area didn't get enough pressure. Wait for a full cold peel and check that the front panel is fully supported.
- Shiny marks or scorching. Polyester and nylon caps can mark under direct heat. Use a cover sheet and stick to the set time.
For more fixes, see our DTF transfer troubleshooting guide.
Caring for printed hats
Our transfers are lab tested for 100+ washes, but most hats keep their shape best out of the washing machine. Spot clean around the print with a damp cloth and cold water, skip bleach and let the hat air dry in its natural shape.
Prefer finished hats? We can make them
DTF suits full-color logos, gradients and fine detail on a cap. For a raised, classic look, embroidery or a patch may fit your brand better. Our custom hats come with embroidery in up to 15-color stitching, woven, PVC and faux-leather patches, or screen printing and DTF on flat-front and unstructured styles.
Not sure which to choose? Compare the options in embroidered vs printed hats.
Frequently asked questions
What size DTF transfer fits a hat?
A structured cap front typically takes a design about 4–4.5" wide and 2–2.5" tall. Low-profile and unstructured caps can have a shorter front panel, so measure the flat area first.
What are the heat press settings for DTF on hats?
The same as for shirts: 320°F (160°C), medium pressure, 15 seconds. Let the film cool completely before peeling, then press again for 5 seconds with parchment paper or a Teflon sheet on top.
Do I need a hat press?
Not always. A hat press makes structured caps easier, but soft, unstructured caps can be pressed on a flat press with a hat pillow or pressing form inside for support.
Can I apply DTF to a hat with an iron?
In a pinch, yes, on a soft cap with firm support inside the front panel. An iron heats less evenly than a press, especially on a curved surface, so a heat press gives the best results. Our guide to applying DTF transfers with an iron covers the technique.
Can you put DTF transfers on trucker hats?
Yes, on the solid front panel. Keep the design off the mesh, since the transfer can't bond across the open holes.
Ready to press your first hat?
Pick a flat-front or unstructured cap, size the design to the front panel and tape it down. Give the front panel firm support, press, let it cool and finish with a short second press.


