


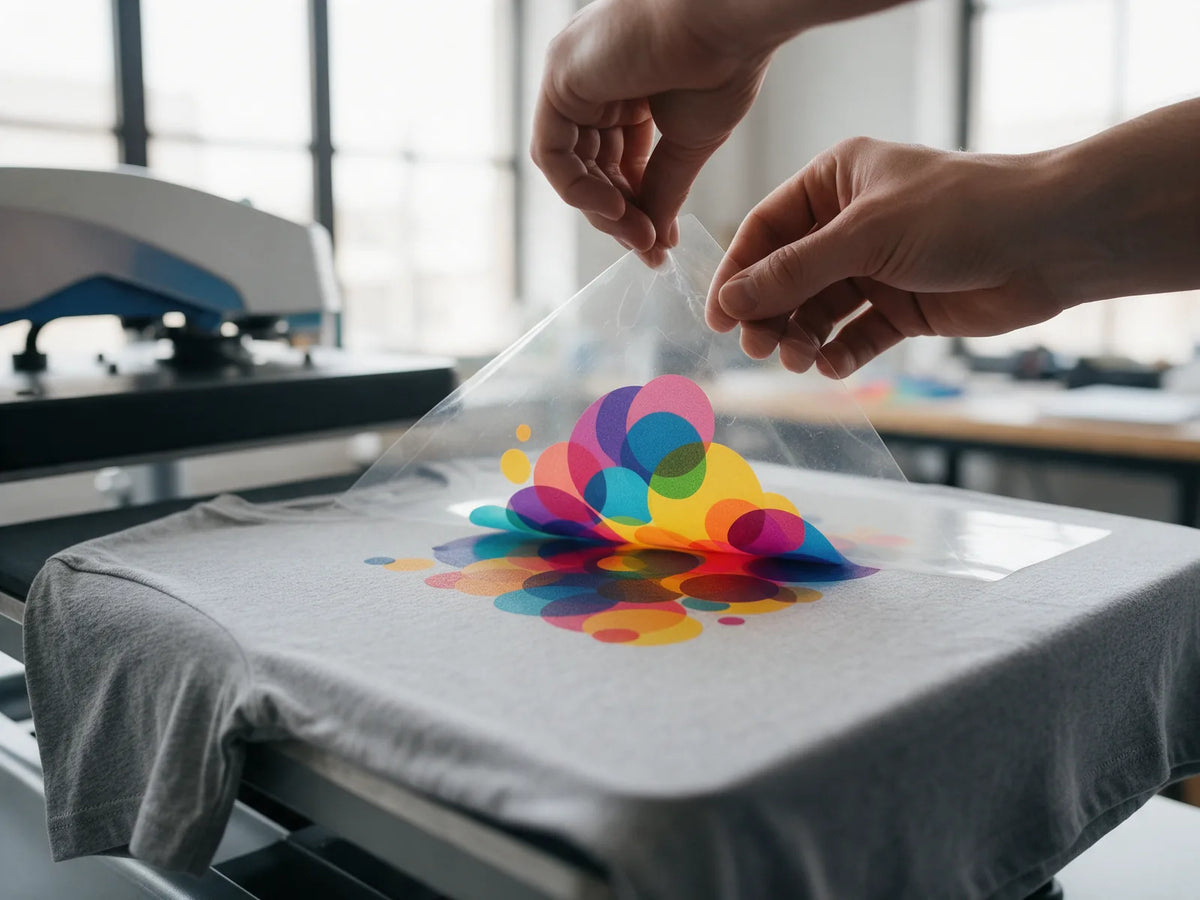
Hot peel vs cold peel DTF comes down to one question: when do you remove the film? Hot peel film comes off right after pressing, while the transfer is still hot. Cold peel film stays on until the transfer has cooled completely. Peel at the wrong moment and the design can lift, tear or bond poorly, so it pays to know which type you have.
This guide explains how each film type works, why our transfers are cold peel, how to tell when a transfer is ready and what happens if you rush the peel.
What peel type means for DTF transfers
A DTF transfer is your design printed on a clear carrier film, with a layer of adhesive on the back. Pressing melts that adhesive into the fabric. After that, the film has to come off, and the moment it releases cleanly depends on the coating the film was made with.
That means peel type is set by the film, not by your press. You can't turn a cold peel transfer into a hot peel one by changing your settings, so always follow the peel instructions from whoever printed your transfers.
Not sure which type you have?
You usually can't tell just by looking at the film. Check the instructions or product page from the company that printed your transfers, or ask them before you press. Our transfers are cold peel, and the full pressing steps are further down this page.
How hot peel DTF works
With hot peel film, you open the press and peel the film right away, in one smooth motion, while everything is still hot. The film's coating is designed to let go of the ink at high temperature, so there is no waiting between garments.
- Speed: no cool-down, which adds up across long production runs.
- Finish: often a matte look straight off the press.
- Technique: the peel has to be quick and consistent, which takes practice.
How cold peel DTF works
With cold peel film, you open the press and leave the film in place until the transfer has cooled completely. As it cools, the adhesive sets in the fabric. The film then releases cleanly and leaves the full design behind, including small text and thin lines.
Why our transfers are cold peel
Our DTF transfers are cold peel, and waiting for the cool-down brings a few advantages:
- Softer hand-feel. The finished print feels smooth and flexible on the garment.
- More vibrant colors. Designs come out rich and saturated.
- Durability. The adhesive sets fully before the film comes off. Our transfers are lab tested for 100+ washes.
- Forgiving application. There's no race against the clock, so it is hard to get wrong, even on your first shirt.
How to tell when DTF transfers are ready to peel
"Cool completely" means cool to the touch across the whole transfer, not just at the edges. Before you peel, check:
- Touch test. Rest your fingertips on the film in a few spots. It should feel cool, with no warmth left.
- Corner test. Lift one corner slowly. If the film releases cleanly and the design stays down, keep going.
- Stop if it resists. If the design starts to come up with the film, lay it back down and wait longer.
- Cool it faster. Carefully slide the garment, kept flat, off the hot platen onto a cool surface.

Peel low and slow
Start at a corner and pull the film back low and close to the garment, in one smooth, steady motion. Hold the garment flat with your other hand so the fabric doesn't stretch while you peel. Yanking the film straight up is how fine details get pulled loose.
What happens if you peel too early?
Peeling a cold peel transfer while it is still warm pulls on the adhesive before it has set. The most common results are:
- Edges, small text or thin lines lift with the film.
- Parts of the design stay on the film, leaving gaps on the garment.
- The print looks rough, stretched or uneven.
- The bond is weaker, so cracking or peeling can show up later in the wash.
If you notice lifting partway through, stop. In most cases you can lay the film back down, press again and let it cool completely before you try again. Once part of the design has torn away, though, it usually can't be repaired, so a little patience saves both transfers and shirts.
Hot peel vs cold peel DTF at a glance
| Factor | Hot peel | Cold peel |
|---|---|---|
| When to peel | Right after pressing, while hot | After the film has cooled completely |
| Speed | Fastest, with no cool-down | Adds a short cool-down to each piece |
| Typical finish | Often matte | Smooth, with vibrant color |
| Fine details | Can lift if the peel is rushed or mistimed | Adhesive sets first, so details stay put |
| Learning curve | Needs a quick, practiced technique | Forgiving, even for beginners |
| Common fit | High-volume production | Home pressing, small shops, detailed art |
Both film types make great prints when they are used as directed. The right peel is simply the one your transfer was made for.
How to press and peel our cold peel transfers
- Pre-press the garment to remove moisture and wrinkles.
- Press at 320°F (160°C) with medium pressure for 15 seconds.
- Let the film cool completely, then peel it low and slow.
- Cover the design with parchment paper or a Teflon sheet and press again for 5 seconds.
On hats, hold the transfer in place with heat tape. A household iron works in a pinch if you press firmly, but a heat press gives the best results. For more on each setting, read our guide to DTF heat press settings, or follow the full DTF application guide.
Which peel type should you choose?
If you buy transfers rather than print them, the choice is made for you: use the peel type the transfer was made for. Beyond that, a few rules of thumb help:
- New to pressing or working at home? Cold peel is the more forgiving option, because your timing doesn't have to be perfect.
- Detailed artwork, small text or thin lines? Cold peel lets the adhesive set before the film comes off.
- Pressing hundreds of the same design? Hot peel saves time per piece, but it rewards a practiced, consistent technique.
Want to see how cold peel transfers press and feel? Request our free DTF transfer sample pack and try a few on your own equipment. New to DTF altogether? Start with what DTF printing is and how it works.
Frequently asked questions
Are your DTF transfers hot peel or cold peel?
Cold peel. Press at 320°F (160°C) with medium pressure for 15 seconds, let the film cool completely and peel it away. Then press again for 5 seconds with parchment paper or a Teflon sheet on top.
How long should I wait before peeling a cold peel transfer?
Wait until the film feels cool everywhere. The exact time depends on your press, the garment and the room, so go by touch rather than a timer.
What is warm peel DTF?
Some films are designed to be peeled after a brief cool-down, while the transfer is still warm. They sit between hot and cold peel. As with any film, follow the instructions from whoever printed the transfer.
Can I use a household iron with cold peel transfers?
Yes, in a pinch. Press firmly over the whole design, then let the film cool completely before peeling. A heat press gives the most consistent results.
Do cold peel transfers need a second press?
Yes. After peeling, press again for 5 seconds with parchment paper or a Teflon sheet on top. This quick finishing press helps the print settle into the fabric.
Patience is the whole trick
Hot peel is built for speed, and cold peel is built to be forgiving. With our cold peel transfers, the only real skill is patience: press, let the film cool completely and peel low and slow.


