


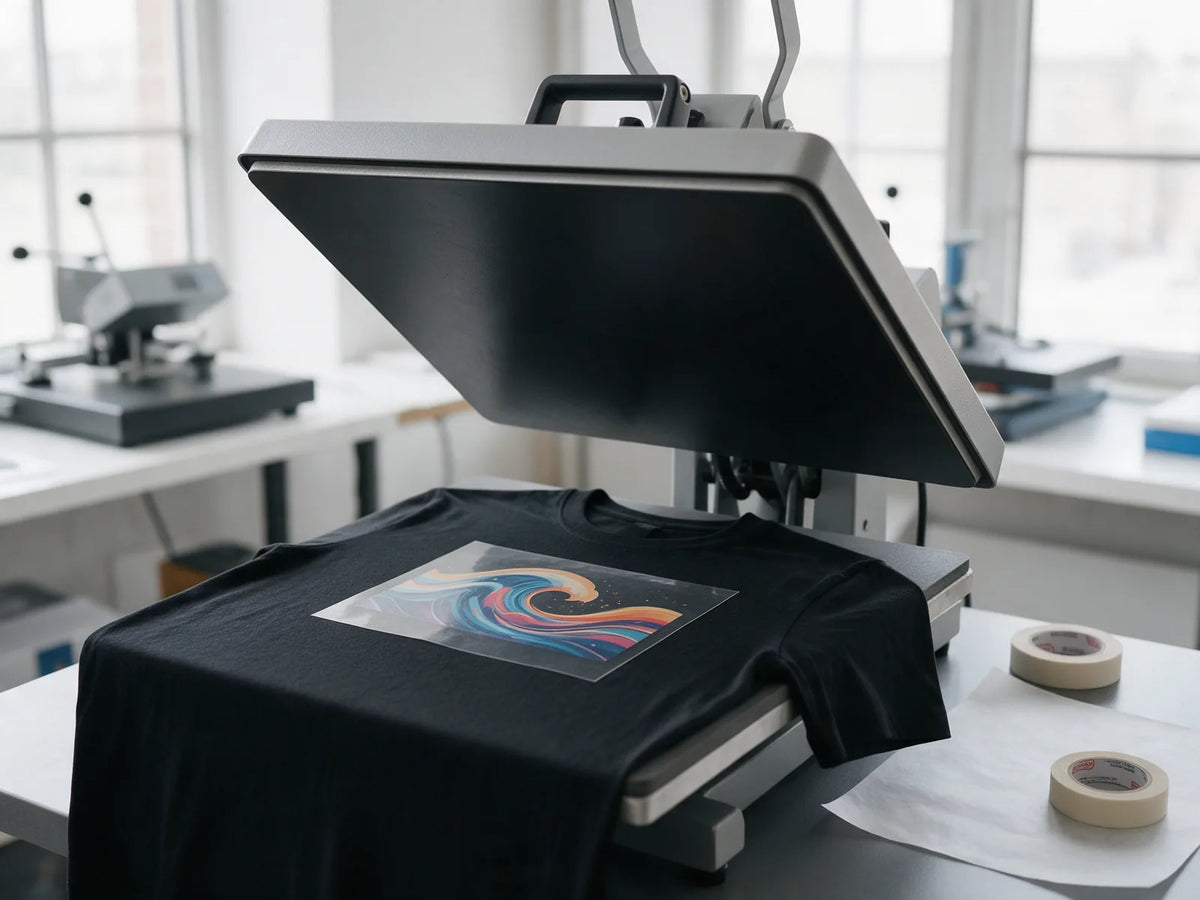
Getting your DTF heat press settings right is what makes a transfer last wash after wash instead of lifting at the edges. For our transfers the recipe is short: 320°F (160°C), medium pressure and 15 seconds, followed by a cold peel and a quick finishing press. This guide explains each setting, how to judge pressure, how to prepare different fabrics and the mistakes behind most pressing problems.
DTF heat press settings at a glance
| Setting | Value |
|---|---|
| Temperature | 320°F / 160°C |
| Pressure | Medium |
| Press time | 15 seconds |
| Peel | Cold peel: let the film cool completely, then peel |
| Second press | 5 seconds with parchment paper or a Teflon sheet on top |
| Before pressing | Pre-press the garment to remove moisture and wrinkles |
| Hats | Secure the transfer with heat tape |
| No heat press? | A household iron works in a pinch; press firmly |
These are the same settings as in our DTF application guide. If your transfers came from another supplier, follow the instructions that came with them, since films and adhesives vary.
DTF transfer temperature: 320°F (160°C)
Heat melts the adhesive on the back of the transfer so it can flow into the fabric. For our transfers, set the press to 320°F, which is 160°C if your press displays Celsius.
Too little heat leaves the adhesive only partly melted, so edges can lift during the peel or after a few washes. Going hotter isn't a shortcut either. Extra heat can scorch or mark the garment, especially on synthetic fabrics.
Check your press's real temperature
Many heat presses run hotter or cooler than their display shows, and some heat unevenly from the center to the edges. A surface thermometer or heat-sensitive test strips can confirm the real platen temperature. Always let the press fully heat up before the first garment.
DTF press time: 15 seconds, then a 5-second finish
The first press takes 15 seconds. That gives the heat time to pass through the film and melt the adhesive into the fibers. When the time is up, open the press and leave the film alone.
Our transfers are cold peel: let the film cool completely, then peel it away slowly, low and close to the garment. Peeling while the film is still warm can lift the design along with it. Our guide to hot peel vs cold peel DTF explains why.
Finish with a second press of 5 seconds with parchment paper or a Teflon sheet on top. The cover sheet protects the print from the hot platen, and the short press helps set the design into the fabric.
Medium pressure, explained
Pressure pushes the melted adhesive into the weave of the fabric. Medium pressure is firm and even: enough to bond every part of the design, but not so much that it crushes the garment or strains the press.
What medium pressure feels like
- Manual clamshell or swing-away press: closing the handle takes a firm, deliberate push, but you shouldn't need to lean your full body weight on it.
- Presses with a pressure gauge: readings differ from machine to machine, so go by feel and the paper test below rather than copying a number from someone else's press.
- Thick garments: hoodies, denim and canvas tighten the press at the same knob setting, so ease the pressure back a little when you switch from tees.
The paper test
With the press off and cool, place a strip of paper under each edge of the platen and close the press. Try to pull each strip out. If one slides out easily, the pressure is light or uneven on that side, so adjust and test again until every strip holds firmly.
Signs your pressure is off
- Too light: edges lift when you peel, the print looks patchy, or it starts peeling after washing.
- Too heavy: the press is hard to lock, and you may see shiny press marks around the design.
- Uneven: one side bonds and the other doesn't, often because a seam, zipper or collar is holding the platen up.
For uneven surfaces, a pressing pillow or pad under the print area raises it above seams and buttons, so the pressure lands on the design.
Fabric tips for DTF transfers
Our transfers adhere to cotton, polyester, blends, tri-blends, canvas, denim, leather and nylon. Rather than changing the temperature or time for each fabric, change how you prepare and protect the garment:
- Pre-press first. A few seconds under the press removes moisture and wrinkles.
- Protect heat-sensitive fabrics. Lay parchment paper or a Teflon sheet over the garment as a cover sheet.
- Test before you commit. Try a scrap or an inside seam first.
- Read the care label. If it warns against ironing or high heat, pick another garment.

Cotton, polyester and blends
These are the easiest fabrics for DTF. Cotton holds moisture, so the pre-press matters most here, because steam trapped under a transfer can weaken the bond. Polyester and poly blends can show shiny press marks, so a cover sheet is a good habit.
Performance wear and nylon
Athletic shirts, jerseys, windbreakers and bags are often polyester or nylon, sometimes with a coating. Thin synthetic fabrics are more sensitive to heat, so use a cover sheet, test on an inside seam first and check the label before you press.
Denim, canvas and other heavy fabrics
Thick fabrics and textured weaves need firm, even pressure. Pre-press to flatten the print area, keep heavy seams and pockets off the platen or use a pressing pillow, and re-check your pressure after switching from tees.
Leather
Leather varies a lot by finish and thickness. Test on a hidden spot or a scrap first, use a cover sheet and make sure the surface is clean and flat before pressing.
Hats
Secure the transfer with heat tape so it can't shift while you press. A hat press or a curved pressing form helps on the front panel. DTF works well on flat-front and unstructured styles, and you can also browse finished custom hats.
Pressing with a household iron
A household iron works in a pinch, though a heat press gives the most consistent results. If an iron is all you have:
- Work on a hard, heat-safe surface rather than an ironing board, which flexes and soaks up pressure.
- Turn the steam off and cover the transfer with parchment paper.
- Press firmly and hold the iron in place instead of sliding it, so every part of the design gets heat.
- Let the film cool completely before peeling, exactly as you would with a heat press.
Common DTF heat press mistakes
Most pressing problems come down to a handful of habits. Watch out for these:
- Peeling too soon. Cold peel film must cool completely. Peeling it warm is a common reason a design lifts with the film.
- Skipping the pre-press. Moisture and wrinkles keep the adhesive from bonding evenly.
- Placing the transfer upside down. The printed side goes face down on the garment, with the clear film facing up.
- Turning up the heat or time. More is not better. Stick to 320°F (160°C) for 15 seconds.
- Pressing over seams or zippers. They hold the platen up and leave parts of the design under-pressed.
- Skipping the second press. The quick finishing press under parchment paper or a Teflon sheet helps the print set.
- Storing transfers folded. Keep unused transfers flat or rolled in a cool, dry place, where they keep for 6–12 months.
Still seeing peeling, cracking or a transfer that won't stick? Work through our DTF transfer troubleshooting guide.
Frequently asked questions
What temperature should I press DTF transfers at?
Press our transfers at 320°F (160°C) with medium pressure for 15 seconds. Transfers from other suppliers can use different films and adhesives, so follow the instructions that came with them.
Do the settings change for polyester or other fabrics?
Our application guide gives one set of settings: 320°F (160°C), medium pressure, 15 seconds. Instead of changing the temperature or time, adjust your preparation. Pre-press, protect heat-sensitive fabrics with a cover sheet, test on a scrap or inside seam first and check the care label.
Do I need to press DTF transfers twice?
Yes. After the first press and the cold peel, cover the design with parchment paper or a Teflon sheet and press again for 5 seconds. It's a quick step that helps the print set into the fabric.
How should I wash a shirt with a DTF transfer?
Wash it inside out in cold water, skip bleach and dry cleaning, and air dry. Pressed at the right settings, our transfers are lab tested for 100+ washes.
Press with confidence
Set the press to 320°F (160°C), use medium pressure for 15 seconds, let the film cool completely and finish with a 5-second press under a cover sheet. With good prep, you'll get clean, durable results on tees, hoodies, totes and more. Want to practice first? Try a free DTF transfer sample pack on your own press.


