


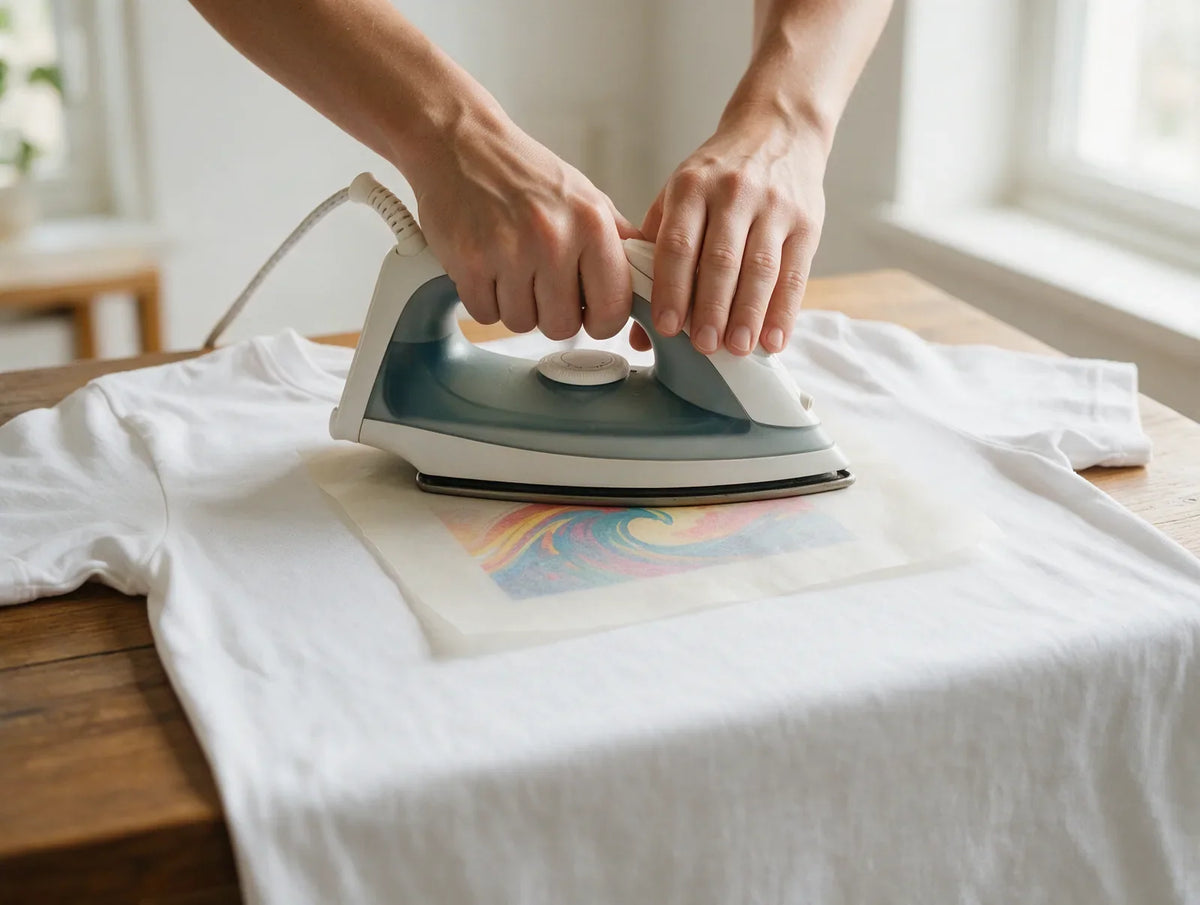
Yes, you can apply a DTF transfer with an iron. A household iron works in a pinch when you don't have a heat press, as long as you press firmly, cover every part of the design evenly and let the film cool completely before you peel. That said, a heat press still gives the best results, so treat the iron as your backup plan.
This guide covers what you need, the step-by-step method, the tips that matter most with an iron and the mistakes behind most peeling problems.
Can you iron on DTF transfers?
Yes. DTF transfers bond with a heat-activated adhesive, and a household iron can supply enough heat and pressure to melt it into the fabric. What an iron can't do is match a heat press for consistency:
- Heat. A heat press is set to an exact temperature. Most irons don't show one, and heat varies across the soleplate.
- Pressure. A press applies even, medium pressure every time you close it. With an iron, pressure comes from your arms and changes from spot to spot.
- Coverage. A press covers the whole design at once. An iron's plate is smaller than most designs, so you work in sections.
That's why an iron is fine for a gift, a one-off shirt or a test print, while a heat press is the better tool for shirts you plan to sell.
What you need to iron on a DTF transfer
- A household iron with the steam turned off and the water tank empty.
- A hard, heat-safe surface such as a sturdy table, protected by a thin cotton cloth or pillowcase.
- Parchment paper or a Teflon sheet to cover the transfer while you press.
- Your DTF transfer and a clean, dry garment.
- Heat tape (optional) to hold the transfer in place.
Skip the ironing board. Its padding flexes and soaks up the pressure you need, while a hard surface pushes back, so more of your force goes into the transfer.

How to apply a DTF transfer with an iron, step by step
- Heat the iron. Choose a high, dry setting that the garment's care label allows, and let the iron heat up fully.
- Pre-press the garment. Iron the print area so it is dry and wrinkle-free. Moisture left in the fabric can weaken the bond.
- Position the transfer. Place it printed side down, with the clear film facing up. Tape it in place if you have heat tape.
- Cover it. Lay parchment paper or a Teflon sheet over the whole transfer.
- Press firmly, one section at a time. Press straight down with both hands and hold the iron still. Then lift it, move to the next section with a little overlap and repeat until every part of the design, edges included, has had the same firm press.
- Let it cool completely. Our transfers are cold peel, so wait until the film feels cool everywhere, not just at the edges.
- Peel low and slow. Start at a corner and pull the film back close to the garment. If part of the design lifts, lay the film back down, press that area again, let it cool and try again.
- Finish with a second press. Cover the design with parchment paper or a Teflon sheet and give the whole design one more short, firm press.
With a heat press, the main step is a single 15-second press at 320°F (160°C) with medium pressure, and the finishing press takes 5 seconds. Those are the settings our transfers are made for, and the full walkthrough is in our DTF application guide.
Tips for better results with an iron
- Use your body weight. Stand over the table and lean into the iron with both hands. Firm pressure matters even more with an iron than with a press.
- Hold, don't slide. Sliding the iron can shift the transfer and leave some areas under-pressed.
- Mind the steam holes. The vents in the soleplate leave small cooler spots, so shift the iron slightly between presses.
- Give the edges extra attention. Edges and fine details are where lifting usually starts, so make sure the iron covers them fully.
- Keep seams out of the way. Collars, seams and pockets hold the iron up, so place the design on a flat area of the garment.
- Start with cotton. Cotton and cotton blends are the easiest fabrics to iron. On polyester and other heat-sensitive fabrics, keep the cover sheet on and test on an inside seam first.
- Practice first. Try a small design or a spare garment before you press the shirt that matters.
DTF without a heat press: iron vs press
| Factor | Household iron | Heat press |
|---|---|---|
| Heat | Set by a fabric dial, not an exact reading | Set to 320°F (160°C) |
| Pressure | Comes from your arms and varies | Medium and even across the design |
| Coverage | Small plate, pressed in sections | Whole design in one press |
| Consistency | Varies from shirt to shirt | Repeatable on every garment |
| Best for | Gifts, one-off shirts, testing a design | Shirts you sell, team orders, larger runs |
If you press more than the occasional shirt, a heat press is worth considering. Our guide to DTF heat press settings explains how to judge medium pressure and prepare different fabrics.
Common mistakes when ironing DTF transfers
- Using an ironing board. The padding soaks up pressure, and the board flexes under your weight.
- Leaving the steam on. Moisture works against the adhesive.
- Pressing without a cover sheet. Parchment paper or a Teflon sheet keeps the hot soleplate from touching the transfer and garment directly.
- Rushing the edges. Under-pressed edges are the first to lift.
- Peeling while warm. Cold peel film must cool completely, or the design can lift with it. Our guide to hot peel vs cold peel DTF explains why.
- Skipping the second press. The finishing press under parchment paper helps the print set into the fabric.
If a transfer still lifts at the edges or won't stick, our DTF transfer troubleshooting guide walks through the usual causes and fixes.
Caring for a shirt you pressed with an iron
Treat it like any DTF garment: wash it inside out in cold water, skip bleach and dry cleaning, and air dry. Our guide on how to wash DTF shirts explains why each step matters.
Our transfers are lab tested for 100+ washes when pressed at the recommended heat press settings. With an iron, results depend on how evenly you pressed, so gentle care matters even more.
Frequently asked questions
Can you use a regular iron for DTF transfers?
Yes, in a pinch. Press firmly over every part of the design, let the film cool completely before peeling and finish with a second press under parchment paper. A heat press gives the best results.
What iron setting should I use for DTF?
Turn the steam off and use a high, dry setting that is safe for the garment. Most household irons don't show an exact temperature, so you can't match the 320°F (160°C) heat press setting precisely. Test on a spare garment or an inside seam first.
How long do you iron a DTF transfer?
Irons vary too much for one exact time. Hold the iron firmly in place on each section rather than sliding it, and give every part of the design, edges included, the same treatment. Let it cool, then lift a corner to check before peeling the whole film.
Do I need parchment paper to iron on DTF?
Yes, or a Teflon sheet. It keeps the hot soleplate off the transfer and garment during the first press, and you need it again for the second press after peeling.
Can I iron a DTF transfer onto polyester?
Our transfers adhere to polyester, but thin synthetic fabrics are sensitive to heat. Check the care label, keep the cover sheet on and test on an inside seam first. If the label says not to iron, choose another garment.
Iron in a pinch, press for the best results
An iron can get a DTF transfer onto a shirt when a heat press isn't available. Press firmly in even sections, wait for a full cold peel and finish with a second press. When you're ready, order transfers at the exact size your project needs.


